Contact Management
Contact Management, located under the Site Management menu, is the sub-menu in which you are able to manage the Groups as well as the Contacts in each Group, which have both been generated by SignUp Forms.
View / Edit Contact Data
To view or edit the contact information of a group, click Site Management > Contact Management > View/Edit Contact Data. This will bring up a list of all of your groups in the database.
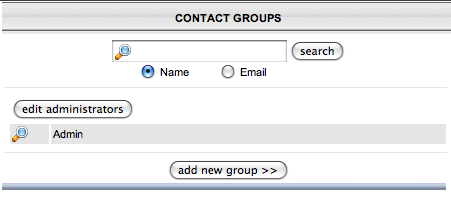
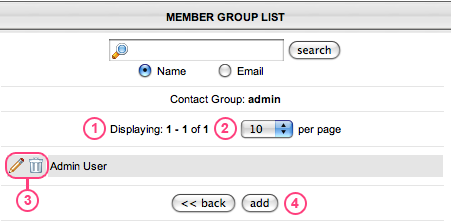
You can delete an entire group by clicking the Trash Can / Delete button, or you can View the Contacts in that group by clicking the Magnifying Glass button. This will bring up a new page with the Contacts of that group in a list. At the top of the page (shown below) will be displayed the name of the Group you chose. Below that displays the number of contacts showing of the total amount (1). Results per Page allows you to change the amount of Contacts that display at a time (2). Each Contact in the list will have it's own Delete button and Magnifying Glass button (3). The Delete button will obviously delete that Contact from the group. The Magnifying glass will allow you to View and/or Edit that person's Contact information. Lastly, clicking Add (4) will allow you to add a new person to the group without having to go to the SignUp Form.
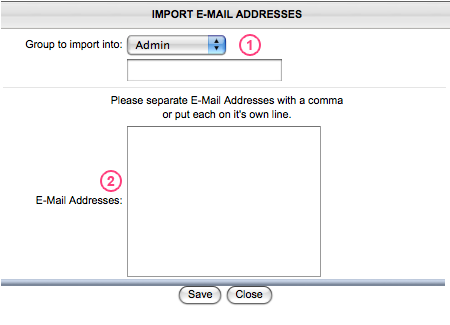
To add multiple email addresses to a group at once, go to Site Management > Contact Management > Import Contacts. At the top of the page, select the group that you want to import the emails into (1). You can also choose [New Group] which allows you to name a new group and import the contacts to that group. Then copy and paste the email adresses into the box provided (2) and make sure that they are separated by a comma or hard return (line break).
Export Contact Data
The last option under Site Management > Contact Management is
Export Contact Data. This feature allows you to save the contact data
of a specific group as a spreadsheet. Clicking Export Contact Data will
pull up a list of groups in the database. Simply click on the group
that you want to export and click the Export button. This will give you
the option to Open or Save the spreadsheet file. If you choose Save, it
will allow you to chose where on your hard drive to save the file.
subpages
- Advanced Security
- Anchors
- Blogging
- Calendar
- Contact Management
- Domain Transfers
- E-commerce
- Email Marketing
- Embedding Videos
- Event Box
- Flash Event Box
- Flash Photo Gallery
- File Box
- Forms
- Go Live
- Image Manager
- Image Verification
- Multimedia Box
- Page Layout/Properties
- Pages
- Podcasting
- SEO Basics
- Sorting Content
- Social Media
- Sub Page Box
- Troubleshooting
- Website statistics
- WYSIWYG FAQs
- Video Standards
- Walkthrough
